Why Water Changes the Image
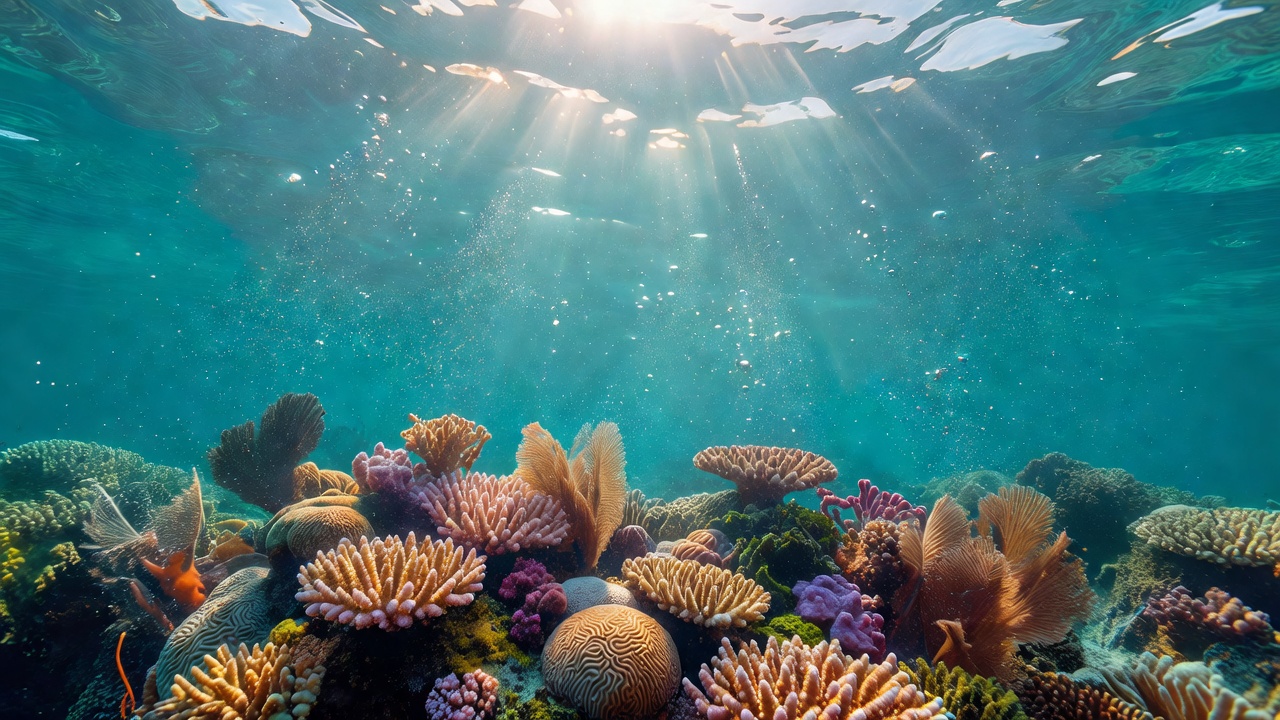
Water is not an empty space between lens and subject. It absorbs, scatters and refracts light, changing both what reaches the sensor and how the lens must focus.
Illustration of principles, not a ray-traced lens prescription.
Distance is an optical decision
Light travels through water before it reaches a subject and again on its way to the camera. Absorption varies with wavelength and with the water itself. Suspended sediment, dissolved material, plankton, surface conditions and sun angle all influence the result. A single depth-to-colour chart cannot predict every location or shooting direction.
Longer wavelengths are often attenuated strongly, but describing the image as simply “missing red” is incomplete. Contrast also falls as scattered light reaches the lens from outside the intended subject path. The distance between camera and subject therefore matters alongside depth. A nearby subject in deeper clear water can present different correction possibilities from a distant subject in shallow turbid water.
Moving closer can reduce the intervening water, but it must remain compatible with animal welfare, permits and the dive plan. A wide-angle lens may help include context from a shorter distance. It does not remove the need to respect a subject's space, nor does it automatically deliver sharp corners through every port.
The port belongs to the lens system
A flat port changes the way rays pass between water, the port material and the air inside the housing. Apparent magnification and a narrower field of view are common consequences. These effects can be useful for some close subjects, while becoming a limitation for wide scenes. Avoid treating a simplified magnification rule as an exact prediction for every lens and port geometry.
A dome port offers a different optical arrangement. Its curvature creates a virtual image that the lens must be able to focus on. Dome size, placement, extensions and lens characteristics affect performance, particularly near the frame edges. Correct port selection follows the manufacturer's lens chart, not just the physical ability to attach the parts.
Specialised water-contact optics and wet lenses can provide other options. Products from Nauticam and INON illustrate how underwater optical systems extend beyond a dry lens behind a window. Check required base lenses, focus ranges, installation instructions and any limits on use in air. Test the complete chain at the settings the production expects to use.
| Observed problem | Possible contributor | Useful production check |
|---|---|---|
| Low contrast | Long water path or scattering | Compare a shorter permitted working distance |
| Soft frame edges | Port geometry, aperture or lens compatibility | Test the recommended port and extension |
| Bright particles | Light illuminating water near the lens | Adjust beam placement and camera position |
| Unstable colour | Changing ambient and artificial light balance | Record references and note lighting changes |
Light the subject, not the water column
Artificial lights can restore a local source of broad-spectrum illumination, but their useful effect depends on distance, beam shape and water conditions. Positioning lights away from the lens axis can reduce visible backscatter in some arrangements. There is no universally correct arm angle: test where the beam falls and inspect the actual image.
Compare lights by more than a single brightness figure. Beam coverage, output consistency, colour characteristics, battery behaviour, control access and manufacturer guidance all affect production. Keldan and Light & Motion publish specifications for underwater video lighting; evaluate the particular fixture rather than transferring one product's behaviour to a whole brand.
Artificial illumination also changes the situation for the subject. Use only what the observation and authorised working method justify. If an animal alters its behaviour, reconsider the approach with the relevant specialist. Lighting equipment is a storytelling tool, not permission to provoke a response.
Protect information at capture
White balance changes channel relationships; it cannot reconstruct detail that was never recorded. Strong channel amplification can expose noise, while a clipped channel has already lost highlight information. Record a neutral reference under the actual lighting where practical, and repeat it when the dominant light changes. A reference filmed elsewhere on the dive may not describe the current subject.
Log and raw recording can preserve useful flexibility, but neither format abolishes exposure limits. Learn the camera's monitoring tools and distinguish the recorded signal from a viewing transform. Use the manufacturer's waveform, zebra or false-colour guidance where available. Verify that a pleasing monitor image is not hiding clipping or a poorly exposed source.
Before committing to a location, compare representative tests: ambient light, a lit close subject, frame edges and a neutral reference. Record lens, port, lighting and camera settings. That notebook is more transferable than a universal exposure recipe because it explains the conditions behind the image.
Method note: an optical test with a useful result
Keep the subject and framing consistent while changing one variable. Compare port configuration, aperture or light placement separately. View the recorded files at useful magnification and retain the settings with each sample.
References to consult
Nauticam and INON provide optical compatibility information. Keldan and Light & Motion provide fixture-specific lighting specifications. Check the relevant camera manual for recording and exposure tools.
Next field guide → Turning Observation into a Sequence